I started to write a story about a man, Percival, who aims to capture the “beauty of the odd” through his photography. The first photograph in this story is what I tried to make in 3D here. Here is the description of the photograph as it appeared in the story:
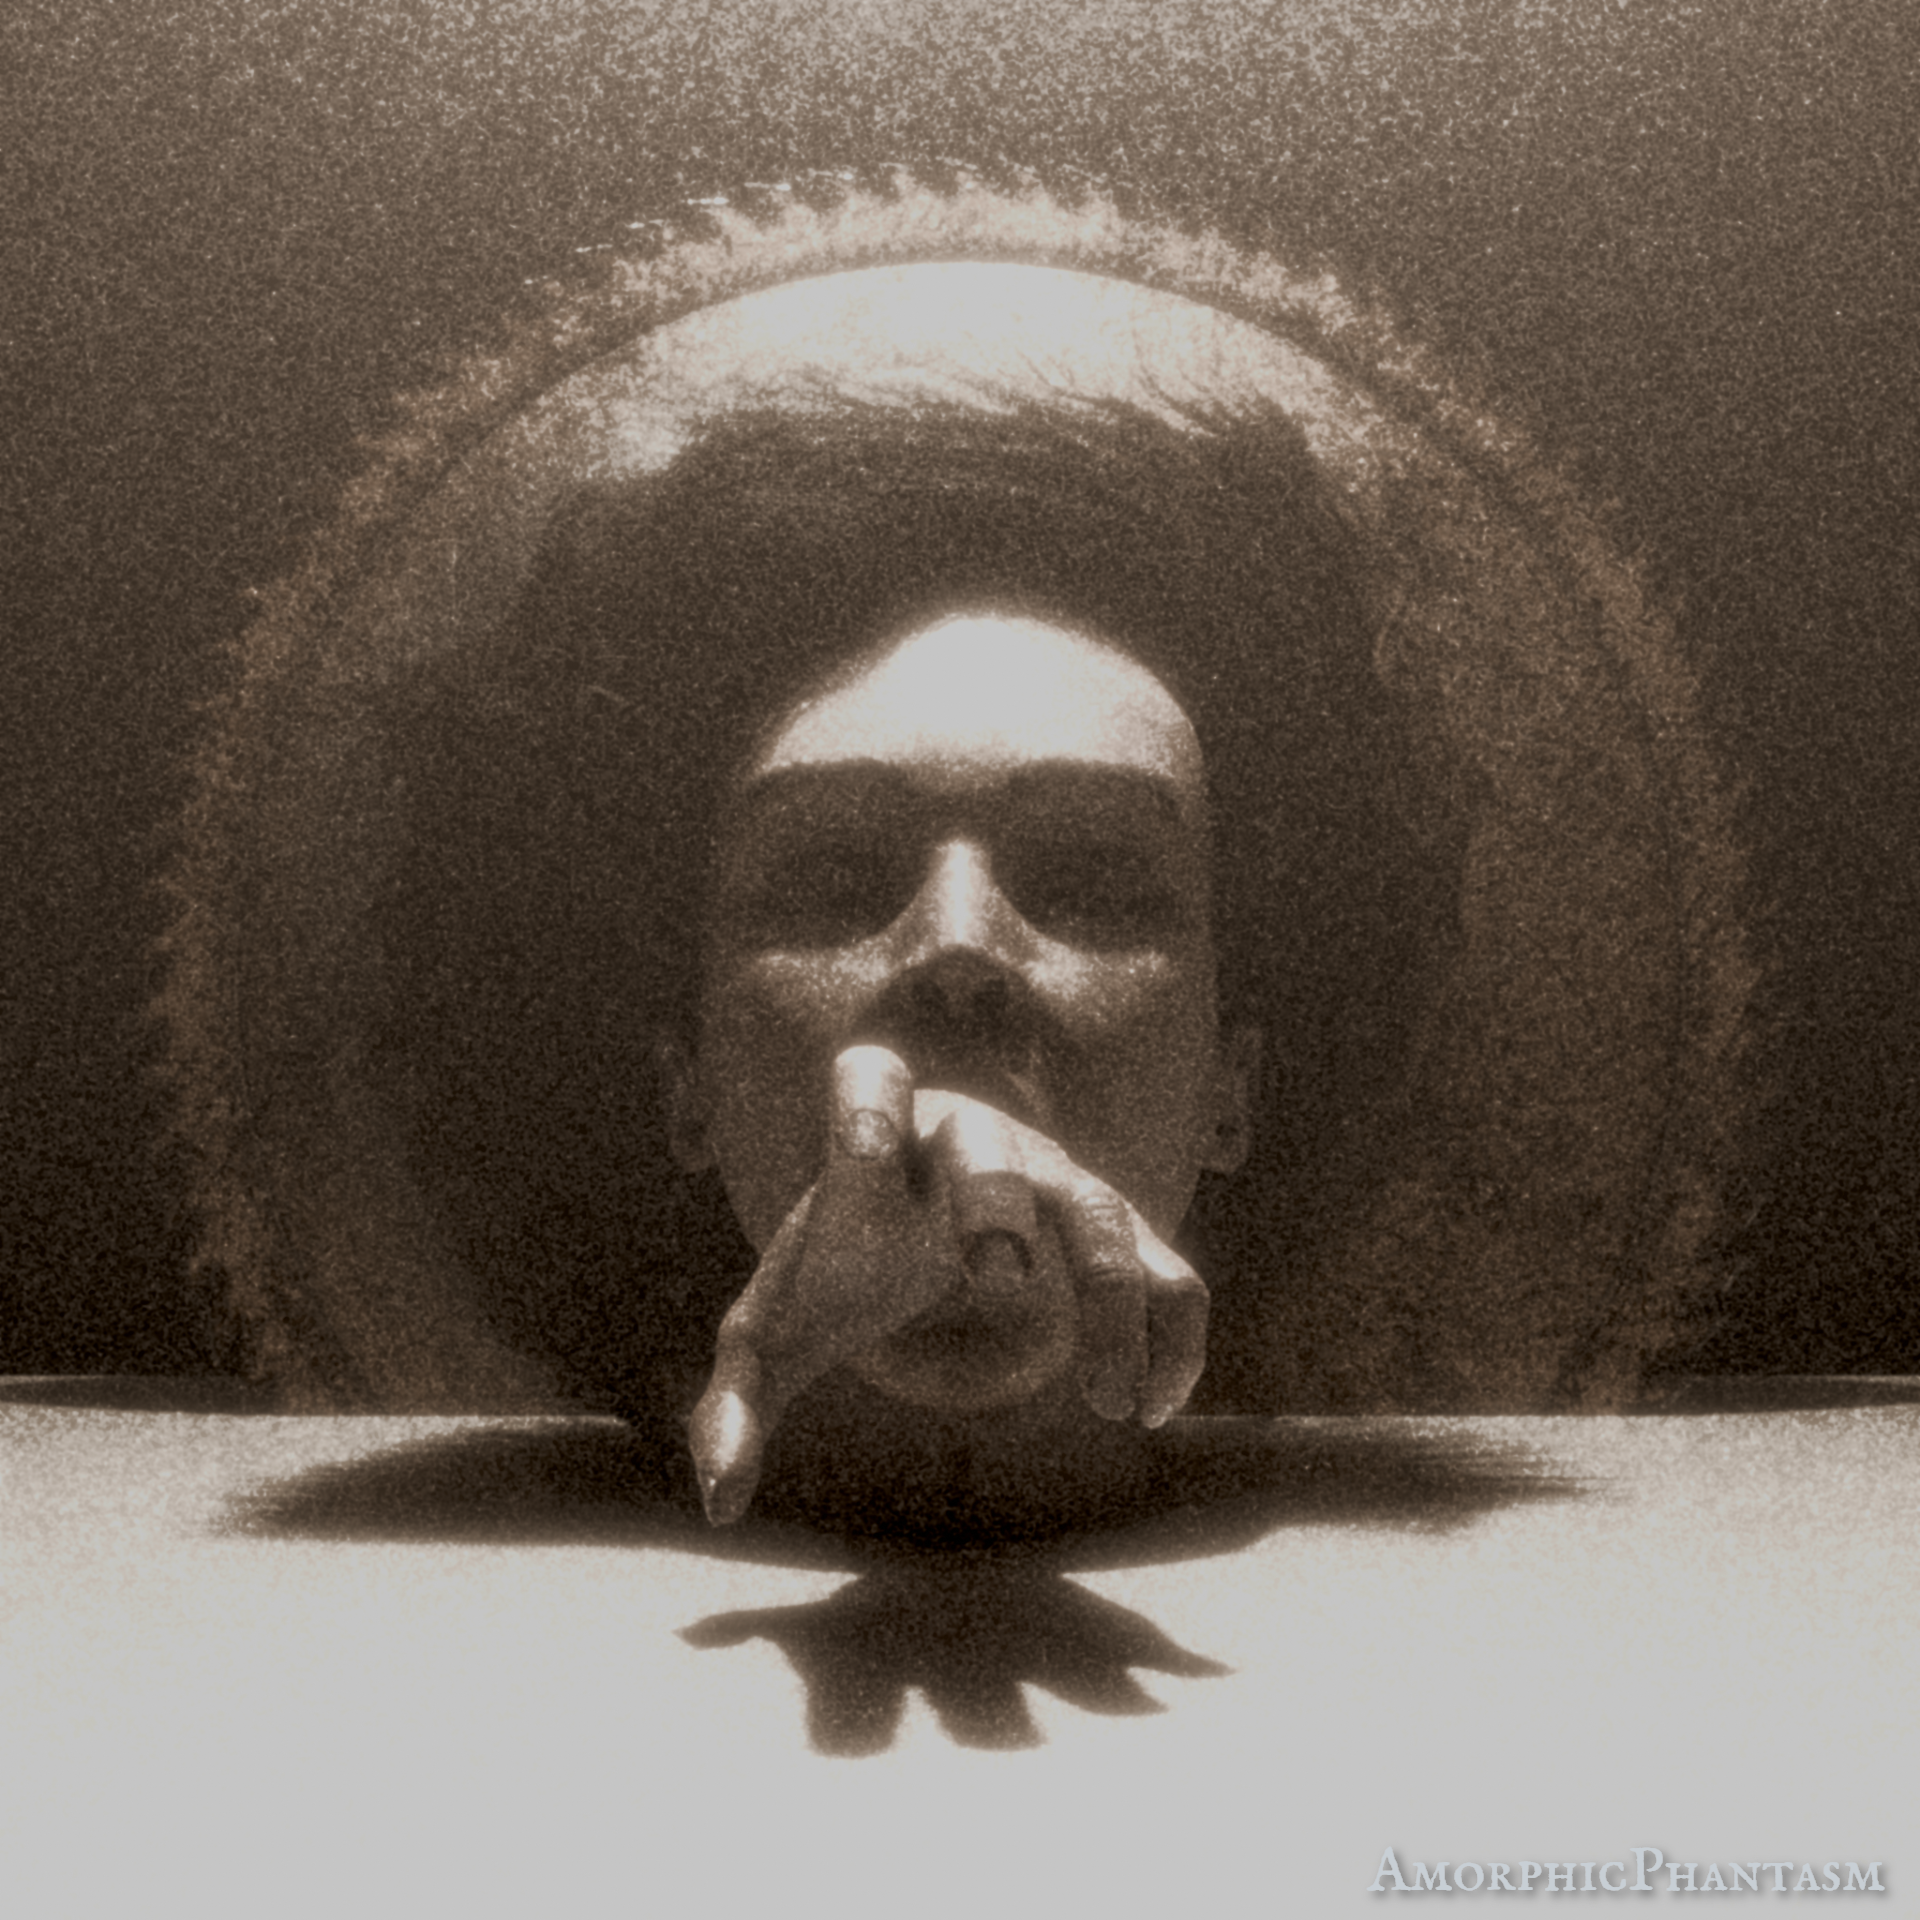
The image showed the head of a very pale-skinned, beautiful lady with beautiful long, curly, dark hair. It was sunk in a white substance; how much of the body was underneath the surface was not visible. The face had a calm expression for her eyes were closed, and yet from within her mouth came forward a hand that seemed to almost want to grab the viewer of the photograph. It made her mouth look distorted which clashed with the calmness in her closed eyes. Since there was no hair in her face, it looked almost like two separateparts. The face, very clean and white. The hair very messy and dark, and it seemed to almost interact with a circular saw blade behind her. The swirls of the hair seemed to follow the direction of saw teeth.

I started out with the highpoly sculpt of the head for another project. The hand was taken from an MB lab character. I posed and sculpted both of these and retopologized the head (in TopoGun). The sawblade was also very quickly modelled. I’m not entirely happy with the retopology, but it was fine enough since it wasn’t supposed to be animated.
The hair particles in Blender were rather finicky. It was difficult to make the hair look as though it “almost interacts with a circular saw blade behind her”. It shall be revealed here that the hair does not look good from pretty much any other angle than from the front. Later, it will be a task to convert these into proper hair cards, so it can be used properly in Unreal.

After that it was on to texturing, which I did in Substance Painter. The task was to make her pale but also … dead. Therefore the lips have almost no color and there are more blues than i’d paint normally on skin. What that roughly looks like you can see in this rather neutral lighting with no effects:

After having placed the light and a volume mesh, I put it into photoshop and tried to give it more the look of an old photograph. And by that I mean it was massively edited. However, I wanted to achieve this effect in Blender itself as well. In order to achieve this, I experimented with the compositor, but quickly realized that there are no noise maps available. I have created a full setup to render the scene first, and then a noise picture that was used in the compositor. But then I realized I could also just render it once and import it in the compositor as an image node.

The basic setup is thus: The image is slightly blurred and then mixed with an equally blurred and adjusted noise texture. The blend mode is color dodge. After that a glare node is added to add not a bloom that is responsible for this over-exposed look. After that, it’s really just more color adjustments and that’s it. And now this can run within blender itself.
